
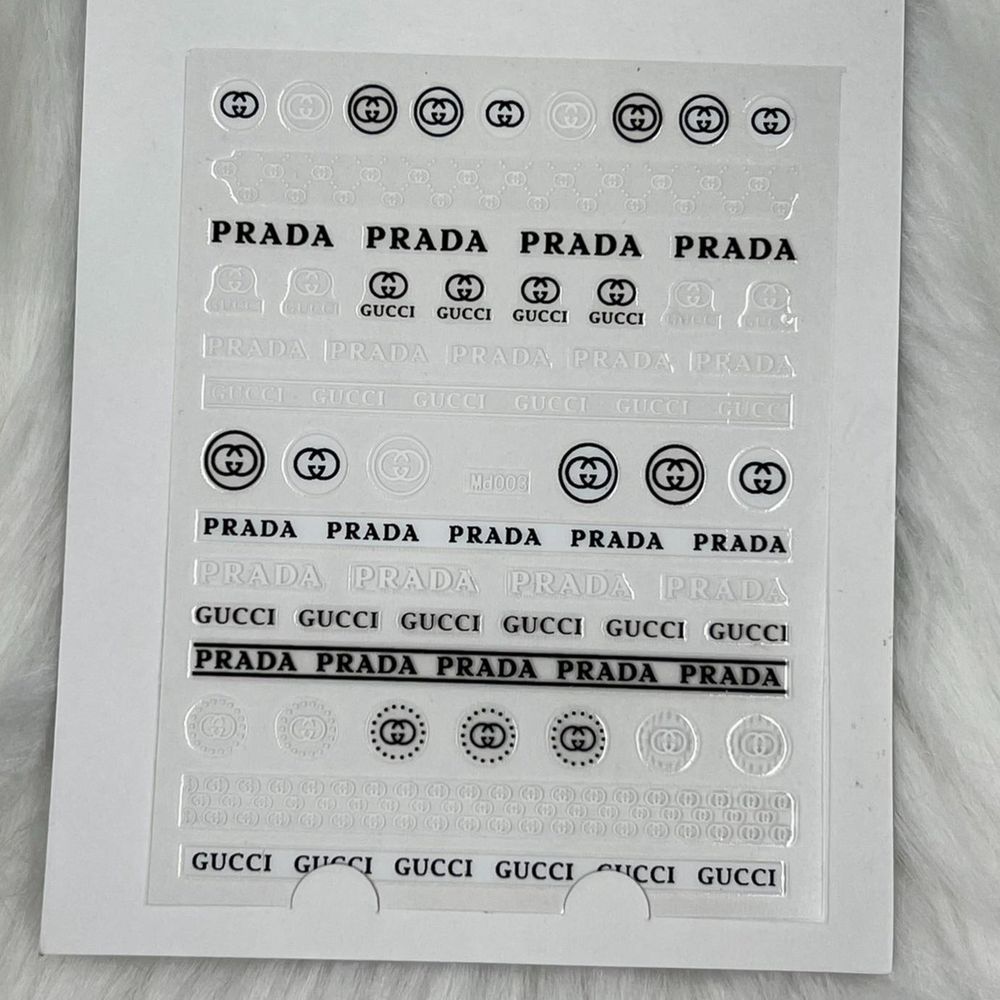
Nothing ruins a fresh manicure faster than a chipped edge or a smudged accent nail. For busy clients and DIYers alike, replacing polish or booking a redo can be time-consuming and costly. Logo nail art stickers offer a fast, low-effort fix that masks damage and instantly upgrades a look without a full repaint.
Why logo stickers solve the chipped-nail problem
Chips and surface flaws often demand either targeted correction or a full redo. A small sticker placed over the damaged area hides the imperfection and restores a polished appearance in seconds. Beyond hiding wear, these stickers—available in a black/white palette—can transform a basic manicure into a statement accent, creating a designer-inspired finish without complicated steps.
Key features that matter in real use
- Instant coverage: Stickers conceal chips and smudges immediately, so a manicure looks salon-fresh again.
- Designer-inspired look: Tags for this product include designer names like Gucci and Prada, indicating logo-style designs perfect for accent nails.
- Compact and affordable: Priced at $1.99 (price may change), they’re a low-cost way to refresh nails between appointments.
- Simple application: No tools or special training required—ideal for pop-up fixes or retail add-ons.
Step-by-step: fast application for a seamless finish
- Prepare the nail area: remove loose polish fragments and gently wipe the nail surface to reduce oils and dust.
- Select the right sticker size for the nail; trim if needed so the sticker sits neatly within the nail edge.
- Remove the sticker from its backing and position it over the chip or accent area. Press firmly from center outward to avoid trapped air.
- Smooth edges with a gentle rub or a soft tool, then file lightly if the sticker overhangs the free edge.
- Seal with a layer of top coat to help adhesion and extend wear time.
For an instant designer accent, try these logo nail stickers.
Practical tips from nail pros
- Match polish base: If the chip reveals a contrasting color, place the sticker so it blends with the remaining polish or use it as a deliberate contrast.
- Use a thin top coat: A single thin layer helps the sticker integrate visually and protects edges from peeling.
- Edge management: If the sticker lifts at the tip, carefully buff the free edge and reseal with top coat rather than forcefully peeling it off.
- Stock versatile sizes: Keep a few sizes on hand so salon techs can fix different nail shapes quickly.
Who benefits most from these stickers?
These logo nail art stickers are a good fit for:
- Busy clients who need an immediate touch-up between appointments.
- DIY nail enthusiasts who want a quick way to add designer-style accents at home.
- Salons and mobile techs offering add-on services for last-minute fixes.
- Retailers and beauty sample kits looking for an affordable, eye-catching accessory.
Care and safety notes
Stickers are a cosmetic accessory meant for surface use on the nail. Avoid placing stickers on irritated or broken skin. Keep them dry immediately after application until the top coat has cured to improve adhesion. If using with other nail products, test compatibility on a single nail first to ensure no lifting or discoloration occurs.
Where to buy and value
This specific design comes as a black/white logo sticker intended for nail art use; usage is simple—peel the sticker away from its backing and press onto the nail. You can find these stickers through select suppliers; Dynamic Nail Supply carries similar items and lists this variant at $1.99, though prices may change.
Conclusion: a quick fix that elevates
Logo nail art stickers are a practical solution for common manicure problems: they cover chips, hide smudges, and add an on-trend motif in seconds. Affordable and easy to apply, they’re a useful tool for both pros and at-home stylists who want fast, stylish results without a full polish redo.