
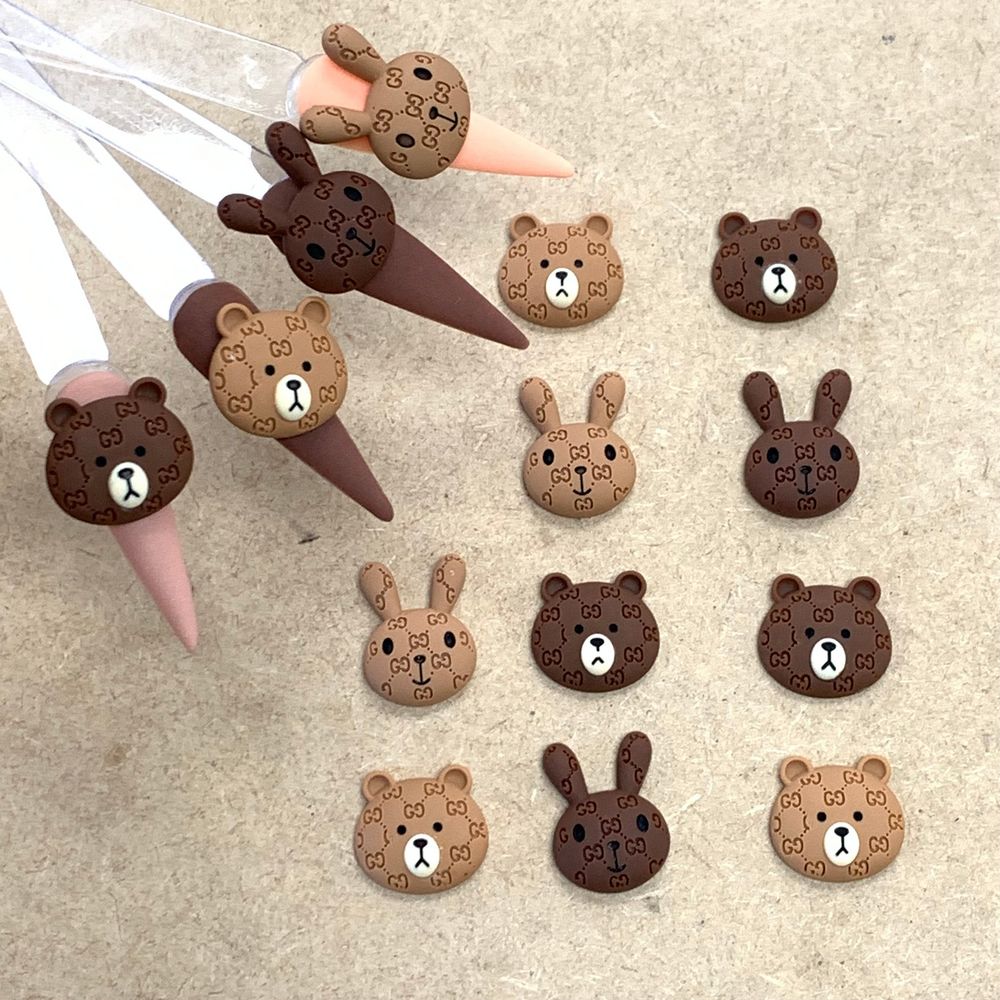
Create eye-catching 3D nail art with the cute Brown and Cony nail charms—perfect for kawaii looks, themed sets, or accent nails. This guide walks you through professional prep, placement, and finishing techniques so you can get long-lasting, salon-standard results whether you’re a tech or doing nails at home.
What’s in the pack and why it matters
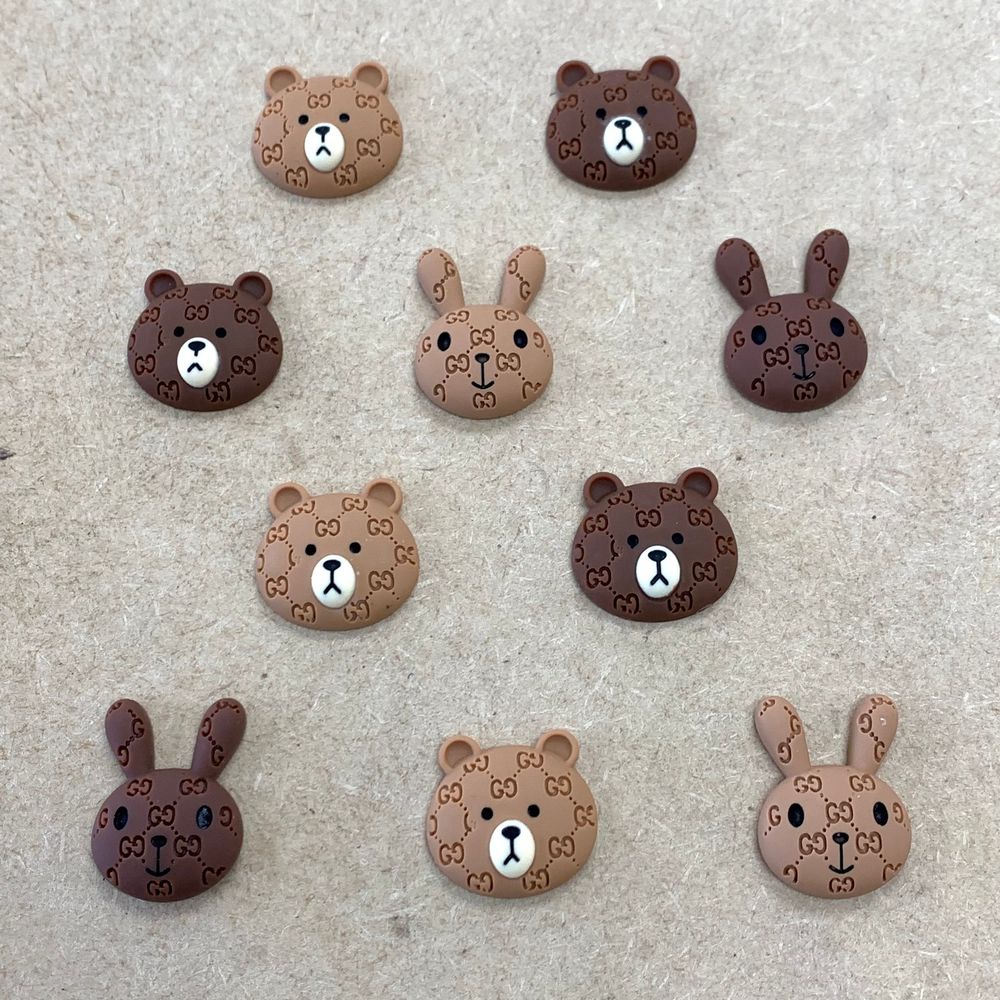
Each bag contains 10 individual charms featuring the Brown & Cony logo pattern in playful, three-dimensional styles inspired by kawaii and gummy-bear aesthetics. Because the set already comes pre-designed, you can focus on placement and adhesion rather than sculpting or painting tiny motifs. If you want to try them, pick up this Brown & Cony charm bag to get started.
Tools and supplies you’ll want on hand
- Nail adhesive: a brush-on resin glue or gel adhesive for secure hold.
- Base and top coats: use a strong base and a gel top coat or builder gel when embedding charms.
- Tweezers or an orangewood stick: for precise placement without touching adhesives.
- Cleanser and lint-free wipes: to remove oils so the charm bonds properly.
- Optional: builder gel or acrylic well: for embedding charms on longer wear applications.
Step-by-step: professional application
1. Prep the nail surface
Start by sanitizing and shaping the nail, then lightly buff the natural nail or enhancement surface to remove shine. Remove dust and oils with cleanser—this step improves adhesion and reduces lifting.
2. Plan your placement
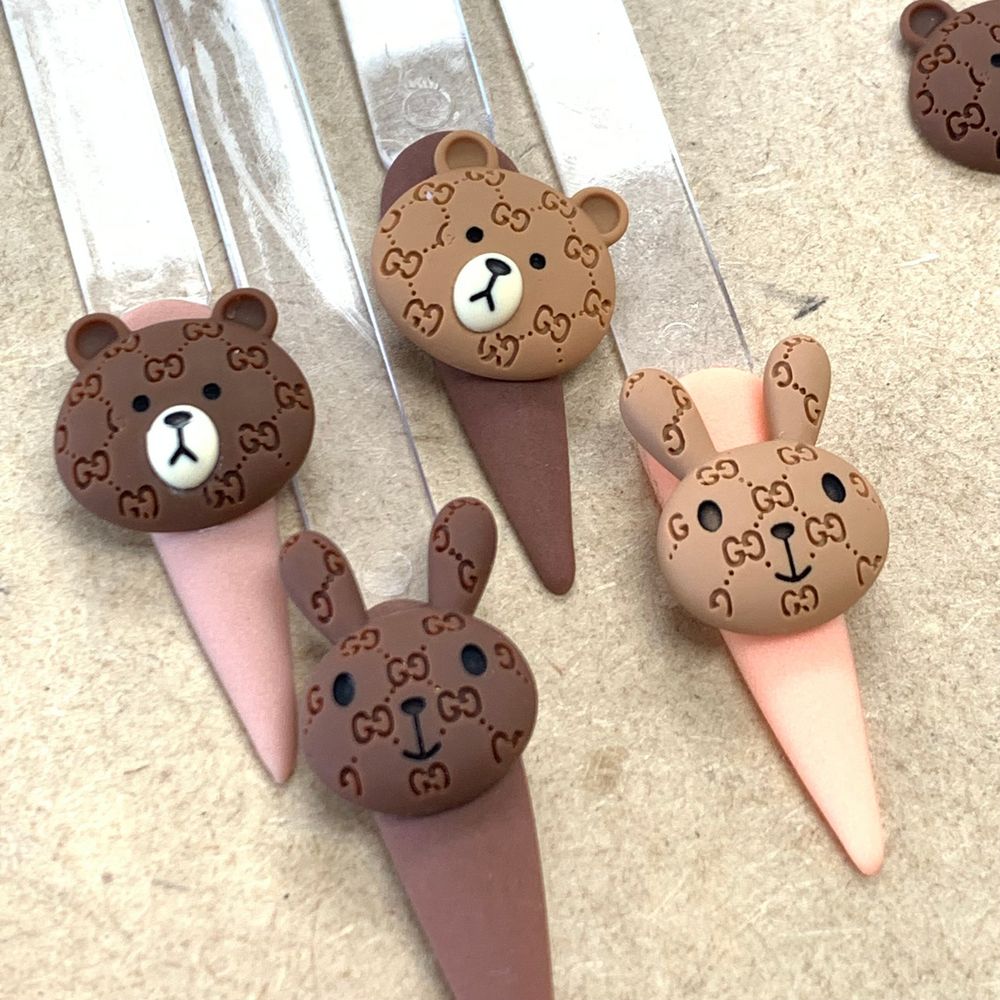
Arrange the charms over the nails before applying adhesive. Decide whether each charm will be an accent (single nail) or part of a multi-nail design. Because these pieces are 3D and eye-catching, one or two nails per hand often read best in a balanced manicure.
3. Adhesion methods
- Glue method: apply a small dot of nail adhesive to the back of the charm or directly on the nail, then place with tweezers. Hold for a few seconds until initial bond forms.
- Gel/embed method: place the charm into a small puddle of builder gel, then cure under an LED lamp to secure. This gives a stronger hold for active clients or longer wear.
4. Seal and finish
For glue-applied charms, add a thin bead of clear gel or top coat around the base—avoid brushing top coat directly over delicate surfaces too aggressively, which can dull a glossy finish. For embedded charms, finish with a full top-coat layer or encapsulate with builder gel for a flush, protected surface.
Placement ideas and design tips
- Single-statement nail: place a larger Brown or Cony charm on the ring finger for a focal accent.
- Symmetrical pairs: mirror the same charm on both hands’ middle fingers for a coordinated look.
- Mix textures: pair the charms with matte polish, glitter gradients, or tiny rhinestones to add depth and contrast.
- Negative space: set the charm near the cuticle or edge to preserve negative-space designs while keeping the 3D element visible.
Who these charms are best for
These charms are great for nail techs and hobbyists who want an easy way to add kawaii, character-driven accents. Because each bag contains multiple pieces, they’re useful for single-use accent sets, practice art, or offering themed options for clients who like playful designs. The charms suit both short and long nails when secured properly.
Care, longevity and safety notes
To maximize wear time, ensure the nail surface is clean and that adhesives or gels are applied according to the manufacturer’s directions. Avoid prolonged exposure to harsh chemicals or heavy impact on the charm area—3D decorations are decorative and can be dislodged by rough handling. If a charm begins to lift, remove it carefully and reapply with fresh adhesive or embed it into builder gel for a stronger repair.
Quick troubleshooting
- Charm won’t stay: re-clean the area and consider switching from glue to a gel-embed method for more secure hold.
- Charm dulls after top coat: use a light-touch application or cure gel first, then add a glossy top coat around the base rather than directly brushing over detailed surfaces.
- Too large for the nail: reserve oversized pieces for thumb or accent nails, or combine with negative-space polish to balance scale.
Each bag is affordably priced at $6.00, so it’s easy to experiment without committing to large inventories; prices may change. For professionals stocking fun accents or creative clients seeking kawaii looks, these charms are a quick way to add personality to a set. Available through Dynamic Nail Supply for easy ordering.
With careful prep, the right adhesive technique, and thoughtful placement, Brown and Cony nail charms can elevate ordinary manicures into memorable 3D designs—perfect for seasonal promos, social media shots, or a playful personal manicure.